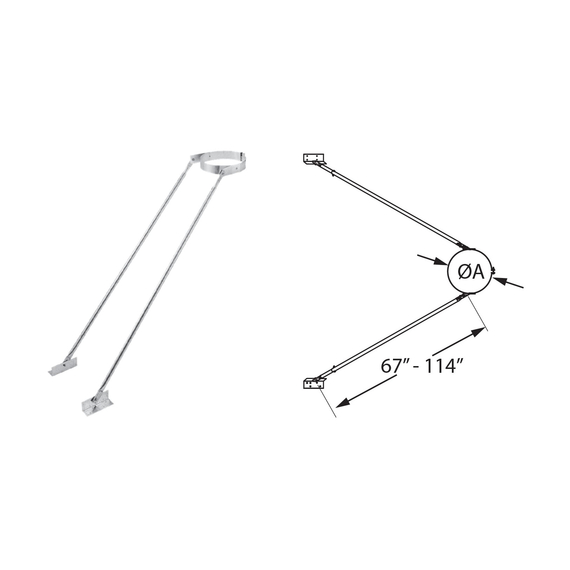
DuraVent 6" DuraPlus Cathedral Ceiling Support Kit
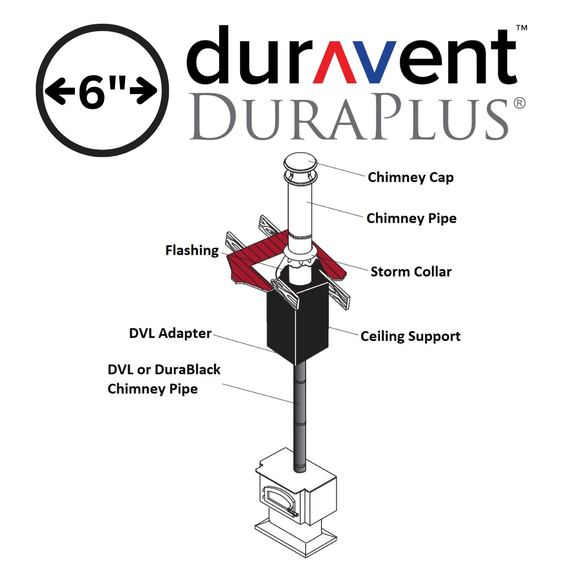
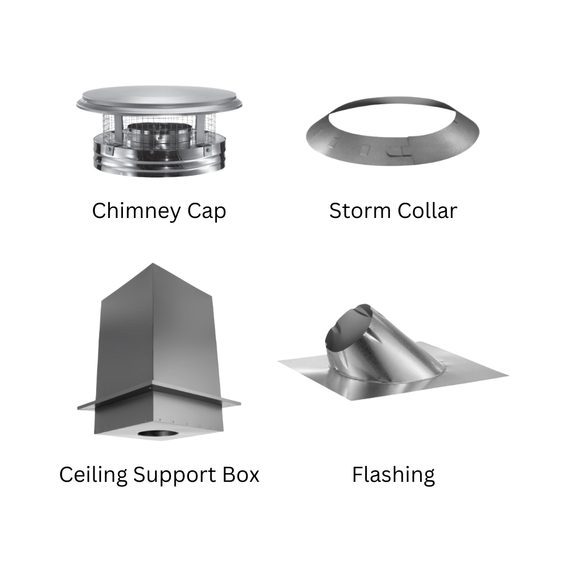
The DuraVent 6" DuraPlus Ceiling Support Kit is an innovative kit developed to install a durable, reliable chimney system in buildings boasting cathedral ceilings seamlessly and stylishly. Designed with care, this package contains all the necessary parts that ensure an adequate and appealing fit for your 6" DuraPlus chimney. The set includes:
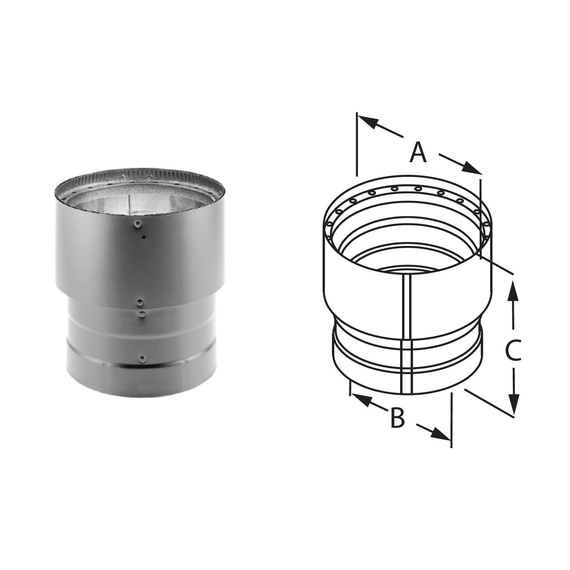
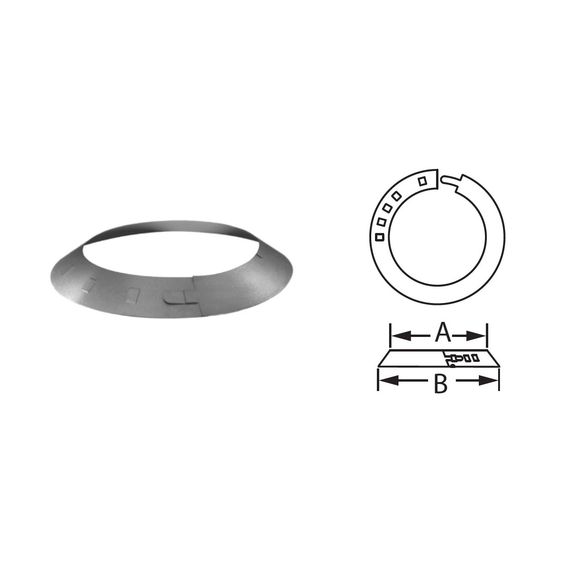
1. 6" DuraPlus Storm Collar: Offering an additional layer of defense, the storm collar establishes a watertight seal around the chimney, reinforcing its resistance against adverse weather conditions.
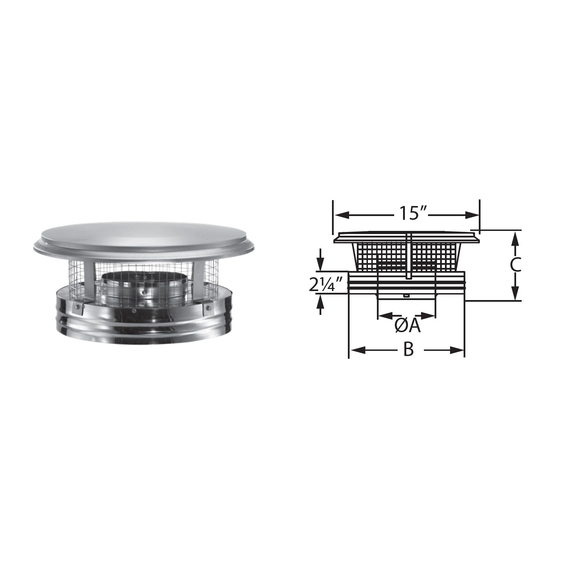
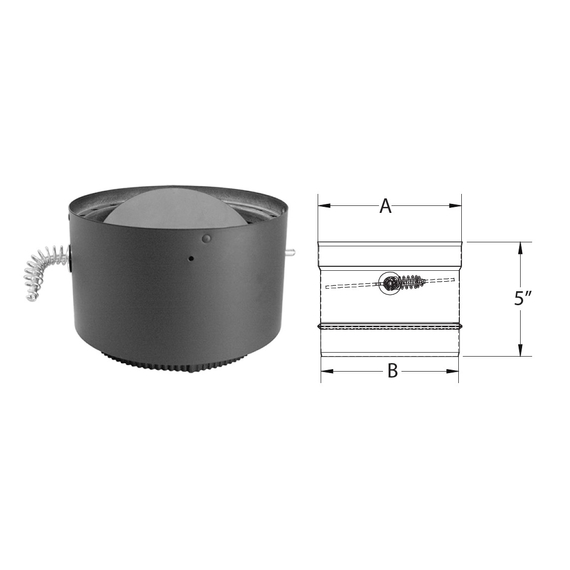
2. 6" DuraPlus Chimney Cap: The chimney cap is a barrier that keeps outside garbage, raindrops, and other external elements while permitting sufficient air circulation.
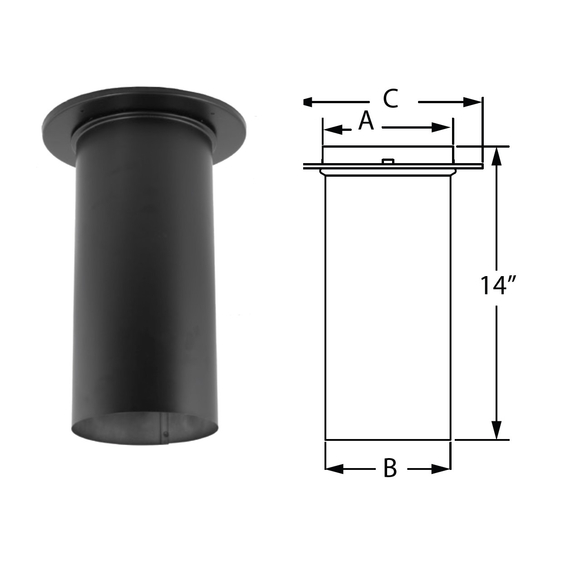
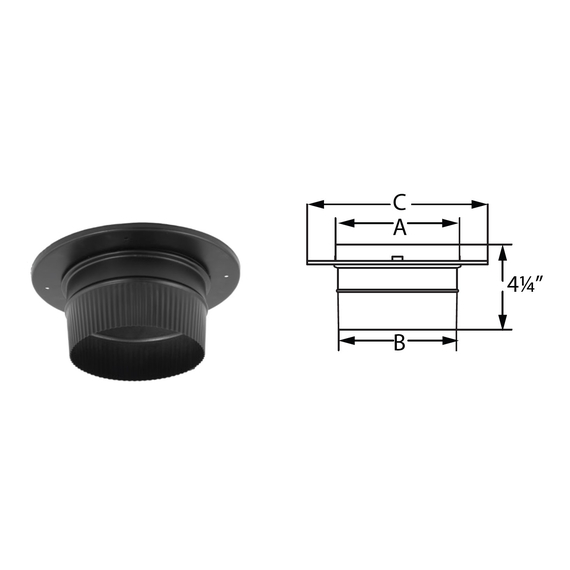
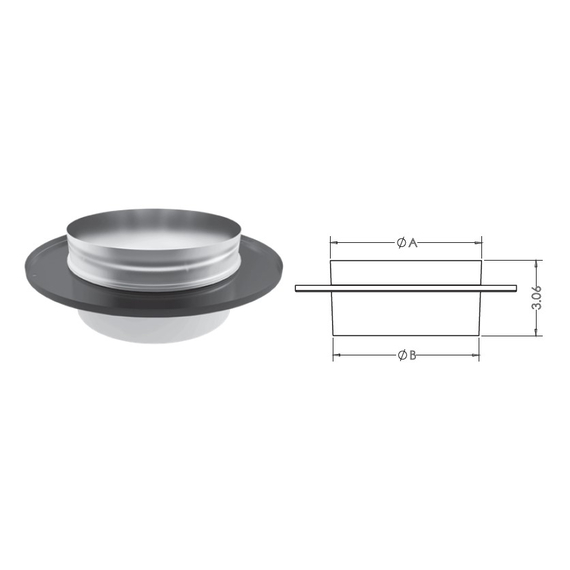
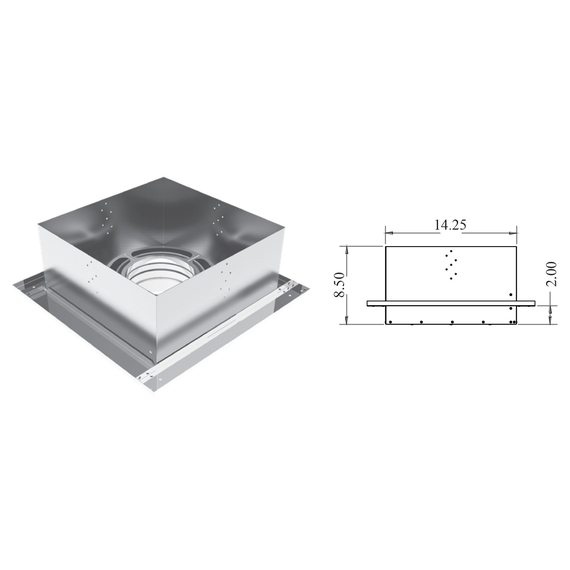
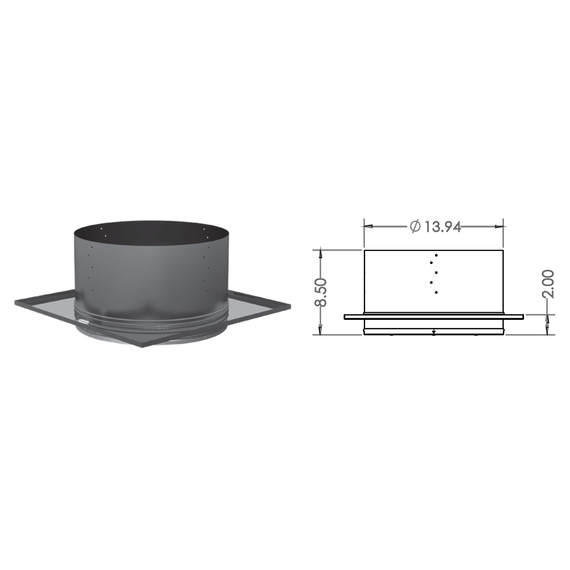
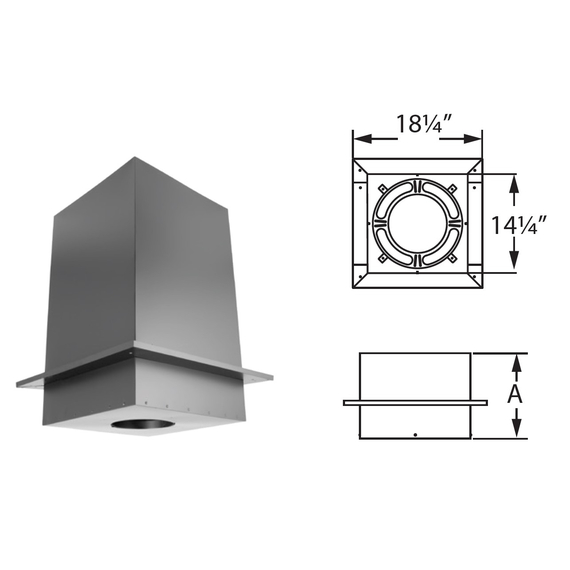
3. 6" DuraPlus Ceiling Support Box: The ceiling support box is an essential element that lets the chimney go through the cathedral ceiling while keeping a solid and safe connection. It is constructed for both sturdy support and artistic integration.
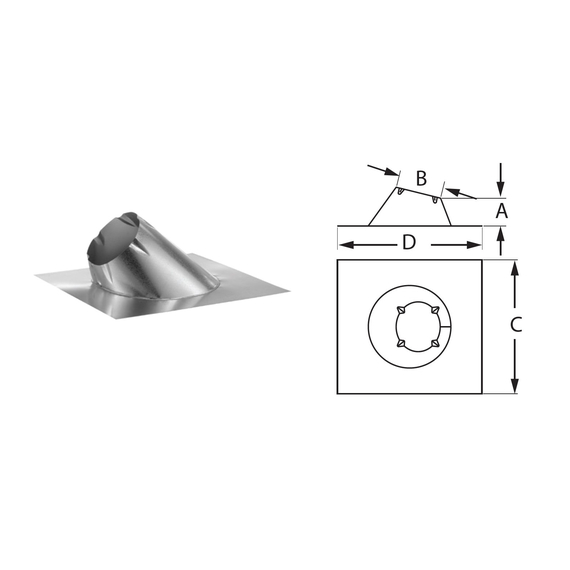
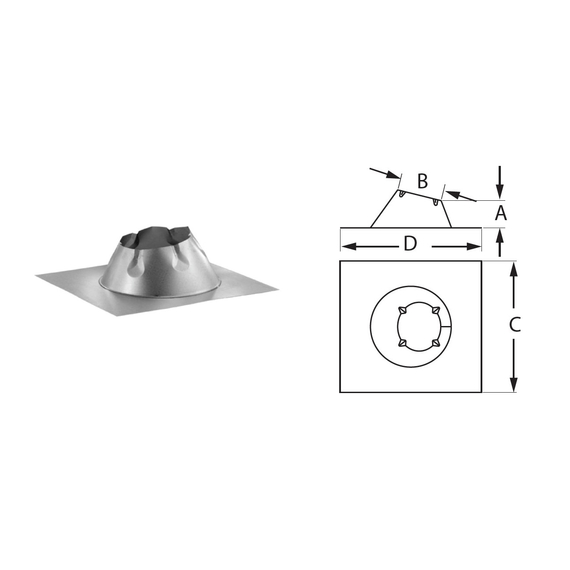
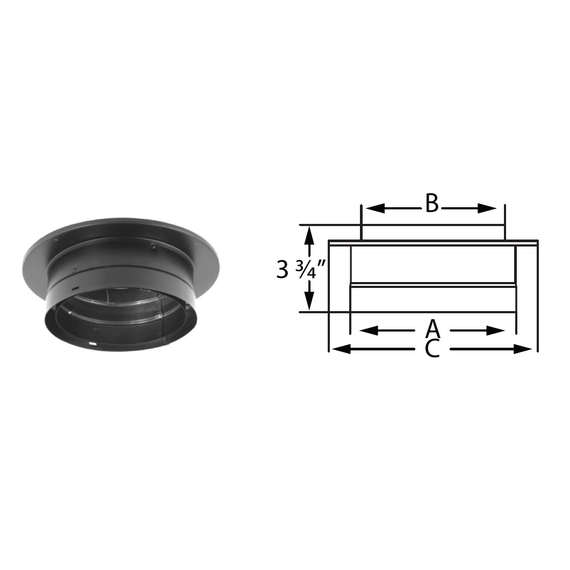
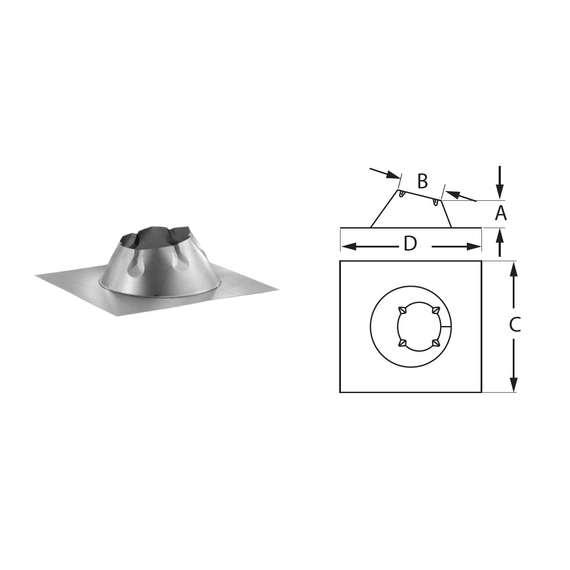
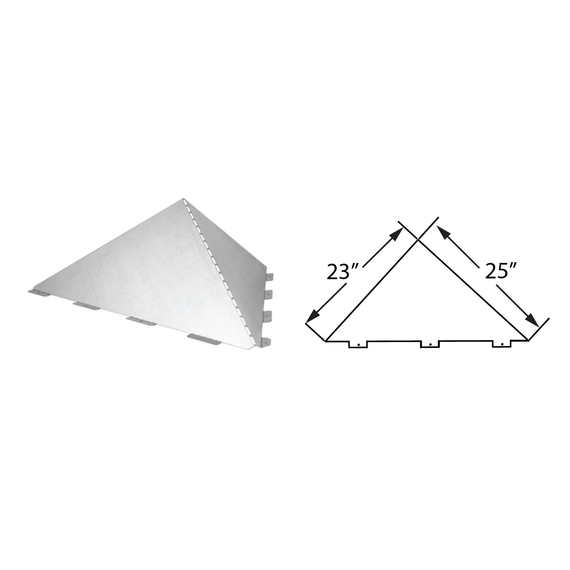
4. 6" DuraPlus Flashing: By preventing water from penetrating the flashing and acting as a weatherproof barrier, it helps to keep the roof waterproof overall and maintains the structural integrity of the chimney system.
A whole and unique solution is the DuraVent 6" DuraPlus Cathedral Ceiling Support Box Kit. It discusses the pragmatic aspects of installing chimneys and emphasizes a sophisticated and cohesive style for cathedral ceiling arrangements. This kit demonstrates DuraVent's dedication to offering a dependable and comprehensive chimney system built specifically for installations in cathedral ceilings.
Features:
- Triple-wall chimney
- Clean, smooth exterior finish
- 2" clearance to combustibles
- Outer diameter is 4" larger than inner diameter
- Free-floating inner 430-alloy liner maintains structural integrity in chimney fires
- For uses with wood stoves, fireplaces, furnaces, boilers, stoves, ranges, water heaters, or other appliances fueled by wood, oil, coal, or gas
Specifications:
- Size: 6" Inner Diameter
- Material: Stainless Steel | Aluminum | Galvanized
- Fuel Type: Coal, Oil, Wood, Gas
- UL Listed: UL-103-HT
- Vent Construction: Triple Wall
- Type: Kit
Downloads:
- DuraPlus Catalog
- DuraPlus Install Instructions
- DuraPlus Woodburning Best Practices
- DuraVent DVL Catalog
- DuraVent DuraBlack Catalog
How to Install DuraPlus Chimney Pipe Kits using Ceiling Support Box?
A DuraPlus Ceiling Support Pipe Kit is an essential choice for anyone looking to install a chimney system that combines safety, efficiency, and aesthetic appeal. With this kit, you ensure a robust and secure chimney setup, providing a long-lasting, reliable solution for your home heating needs. By following the installation steps outlined below, you’ll maximize your chimney’s performance and protect your home for years to come. The DuraPlus Ceiling Support Kit is available in 6-Inches, 7-Inches and 8-Inches.
Why Invest in a Ceiling Support Pipe Kit?
- Unmatched Stability: The ceiling support pipe kit offers superior stability, ideal for multi-story homes and applications where safety is paramount. It ensures your chimney remains firmly in place, even in extreme weather conditions.
- Enhanced Safety Features: This kit incorporates critical safety components like Firestop Radiation Shields and Attic Insulation Shields, safeguarding your home from potential hazards while complying with building codes.
- Versatile and Customizable: Whether you need square or round support boxes, this kit offers flexibility, making it adaptable for different ceiling types, including cathedral ceilings. With various trim options, you can also enhance your chimney's appearance to complement your home’s aesthetic.
Step-by-Step Installation Guide
- Place the Appliance: Begin by positioning your appliance according to the manufacturer’s guidelines, ensuring the flue outlet collar aligns perfectly between the rafters or joists. This alignment is crucial for a secure and efficient chimney installation.
- Frame the Support Opening: Use a plumb bob to mark the center of the flue outlet on the ceiling, then cut a hole according to the support box type—square or round. Frame a level, sturdy opening around the hole to provide a stable base for the support.
- Install the Support: Slip the Support Box into the framed opening, ensuring it extends at least 2 inches below the finished ceiling. Secure the box with 8-penny nails and attach the trim frames for a polished look. With brass trim options available, you can elevate the appearance of your installation.
- Frame Openings for Firestop and Attic Insulation Shields: Frame openings in each ceiling or floor above the Support Box to hold the Firestop Radiation Shield and Attic Insulation Shield. This ensures your chimney maintains necessary clearances and complies with safety regulations.
- Cut the Roof Opening: To accommodate the chimney, cut an opening in the roof that’s at least 4 inches larger than the chimney’s diameter. This allows for a 2-inch clearance to combustibles. If the chimney passes between closely spaced rafters, use Close Clearance Shields to avoid structural reframing.
- Install Firestop Radiation Shield: Depending on whether your home is a two-story or multi-story building, install the Firestop Radiation Shield accordingly. This shield is vital for maintaining safety where the chimney passes through floors, providing a secure barrier between the chimney and surrounding materials.
- Assemble Chimney Sections: Lower the first chimney section into the Support Box, twist-locking it securely. While sheet metal screws can reinforce the connection, they are generally not required. This step ensures the stability of your chimney system.
- Install the Attic Insulation Shield: Where the chimney enters the attic, the Attic Insulation Shield prevents debris and insulation from coming into contact with the chimney. For spaces where a standard shield won’t fit, the Square Support Box can double as an Insulation Shield, providing both flexibility and safety.
- Attach Flashing: Properly seal the chimney by attaching flashing above the roofline, ensuring a 2-inch clearance from combustibles. Seal all nail heads and apply waterproof sealant for long-lasting protection against the elements.
- Finish the Top: Apply high-temperature, non-hardening sealant around the chimney where the Storm Collar meets the Flashing. Install the Chimney Cap to prevent debris and weather from entering, and secure it firmly for stability. In areas with heavy snowfall, consider adding a splitter (fabricated separately) to divert snow around the chimney.
- Enclose the Chimney in Occupied Spaces: When the chimney passes through occupied areas, such as closets or living spaces, build enclosures to maintain a 2-inch clearance from combustibles. Use wall straps as needed to secure the chimney and ensure proper airflow.
Investing in a ceiling support pipe kit is a strategic move to guarantee a safe and efficient chimney installation. By following this detailed guide, you’ll not only secure your chimney but also enhance your home’s safety, efficiency, and aesthetics. Whether you’re building a new or upgrading an existing system, choose the ceiling support pipe kit for a reliable and worry-free installation.
Manufacturer's Warranty
Limited 5 Year Warranty
Warrantied Products: Fireplace Doors, Heating Solutions, Freestanding Screens, Hanging Mesh Kits, Toolsets, Hearth Centers, Log Rings & Holders, Firepits, Wood Racks, and Fireplace Hoods.
Manufacturer hereby warrants these products to be free from defects in materials and/or workmanship, for the period of time and under the conditions described in each section below, subject to the limitations listed below (see section 2).
1. Limited Warranties
1a. Manufacturer warrants the metal/steel materials and the applied finish of this product, to be free from defects in materials and/or workmanship, for a period of five (5) years, subject to the limitations outlined below (see section 2). Color finishes may vary slightly in shade and are not guaranteed to perfectly match or coordinate. Finishes deemed to be significantly varied may be re-finished solely at Manufacturers option and discretion.
1b. Manufacturer warrants any glass materials of this product to be free from defects in materials and/or workmanship, for a period of one (1) year, subject to the limitations outlined below (see section 2).
1c. Manufacturer warrants any electrical components of this product to be free from defects in materials and/or workmanship, for a period of one (1) year, subject to the following limitations, and those outlined below (see section 2). Exposing this product to flames and/or heat without engaging the blower unit will void your warranty.
2. Limitations
2a .The repair or replacement of parts, or the performance of service under this warranty, does not extend the life of this warranty beyond its original expiration date.
2b. This warranty is non-transferable and is offered exclusively for the benefit of the original purchaser, beginning on the original date of retail sale.
2c. Manufacturer does not warrant this product against the following: 1. Damage occurring during transportation or installation, damage resulting from improper installation, accident, alteration, or mis-use. 2. Discoloration of finish, distortion of metal parts, and or/glass breakage due to high heat.
2d. Manufacturer is not responsible for any additional charges that may occur during the warranty process, nor are they responsible for any travel, labor, or installation expenses.
3. Warranty Process
If, during the given warranty periods, a product covered under this warranty proves to be defective in material or workmanship, a claim for warranty service should be made through your authorized Manufacturer Dealer. Proof of purchase will be required. The authorized dealer will contact Manufacturer to procure replacement parts and/or if additional service is deemed necessary. Manufacturer reserves the right to choose at its option, the best method of repair or replacement, for any warrantied part or product.
No reviews found


