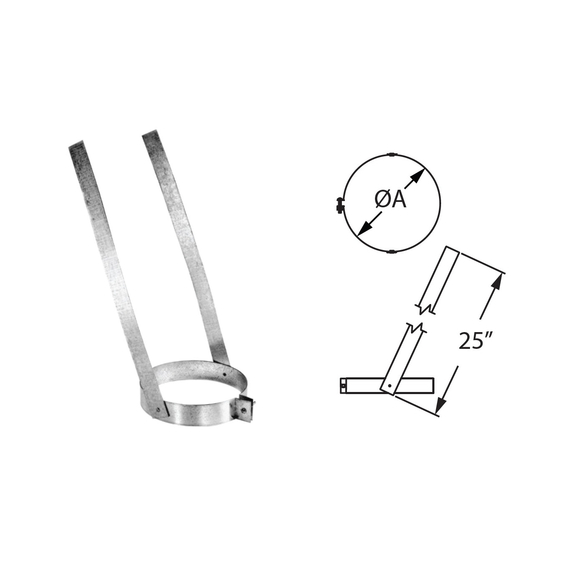
DuraVent 6" DuraPlus Attic Offset Kit
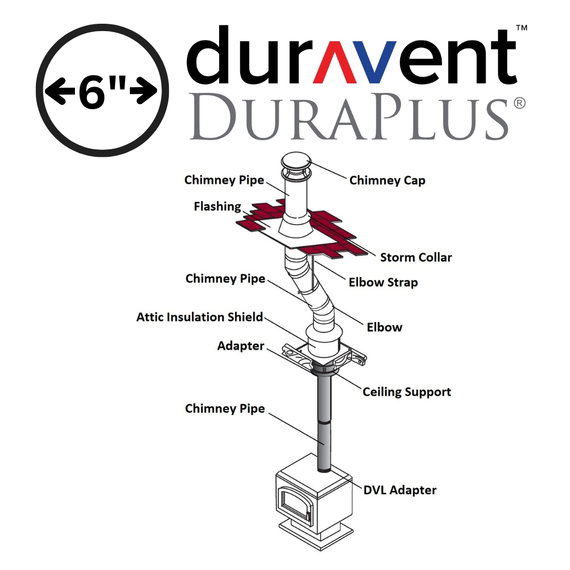
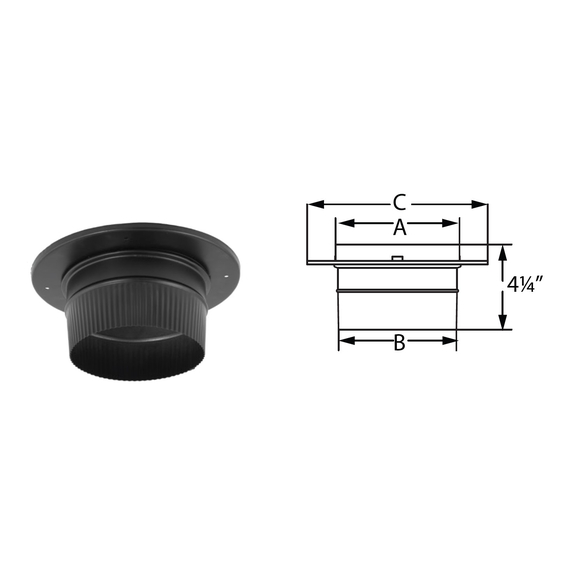
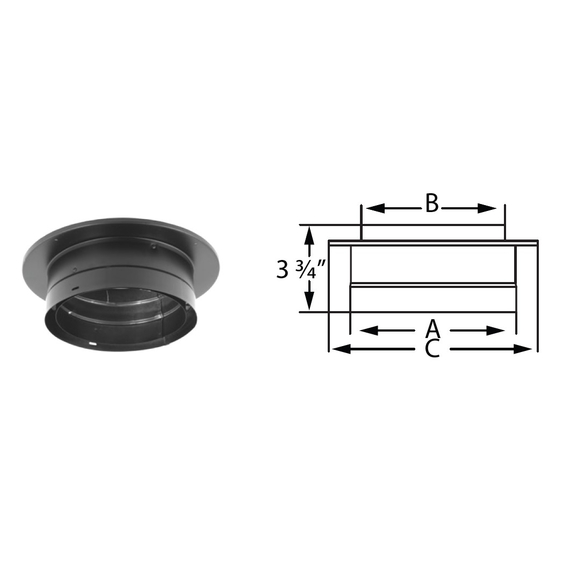
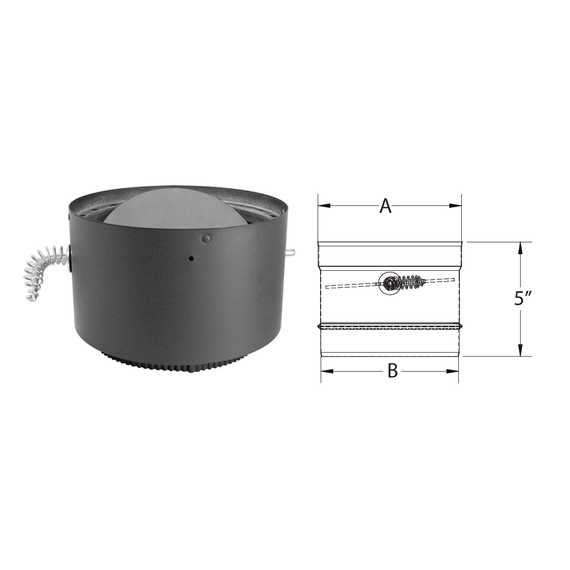
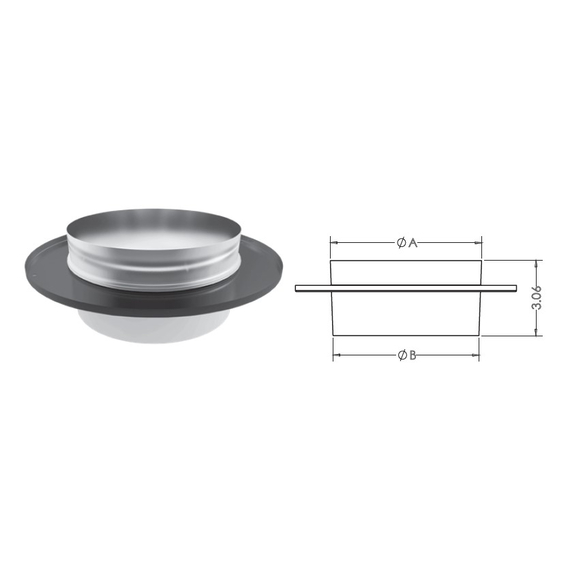
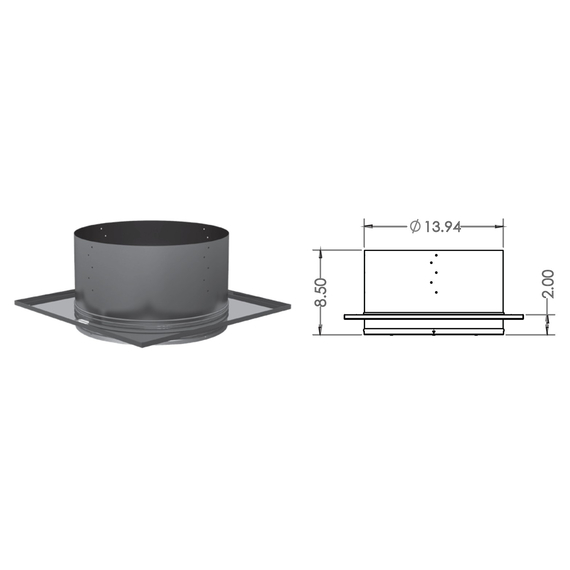
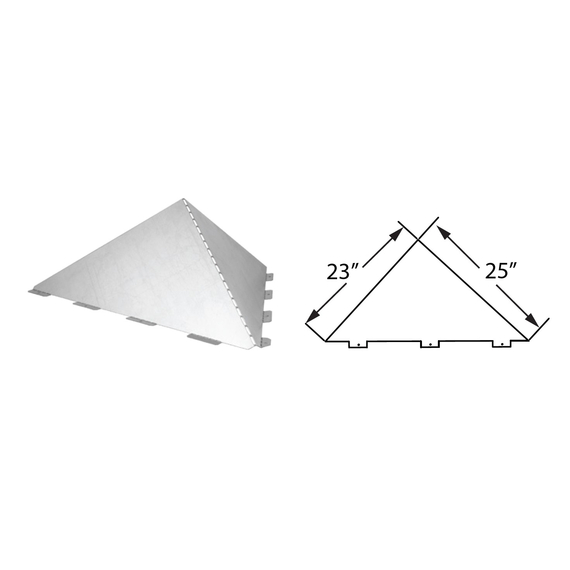
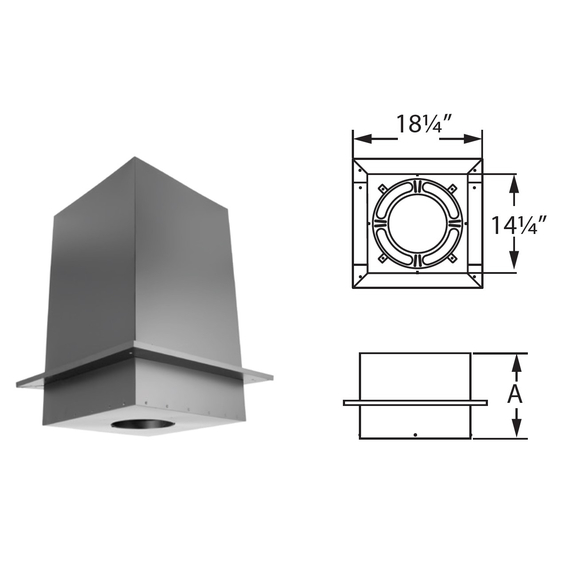
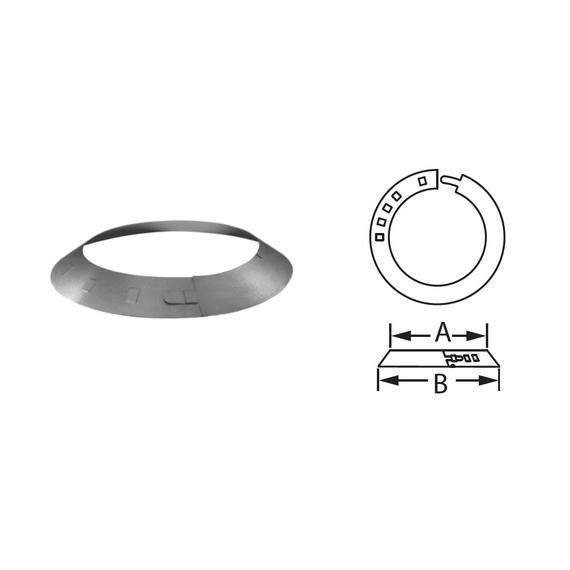
A complete solution, the DuraVent 6" DuraPlus Attic Offset Kit makes it easier to install a chimney system that is specifically made to install a chimney system in attic effectively and safely. This kit contains several necessary parts to guarantee your 6" DuraPlus system is connected securely and by the code when used in an attic. Essential parts that come with this kit are:
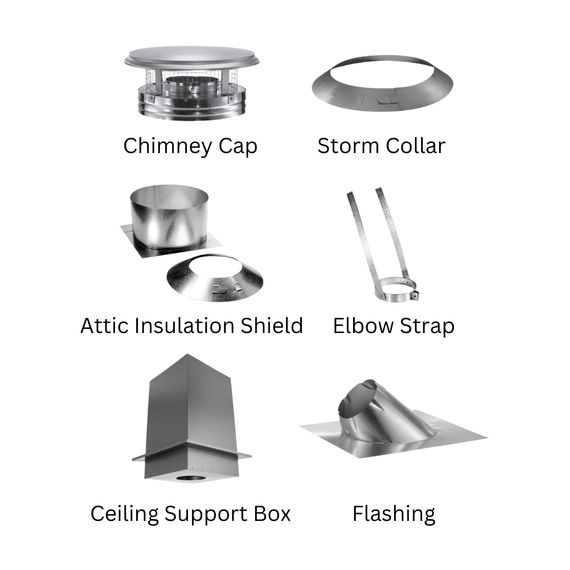
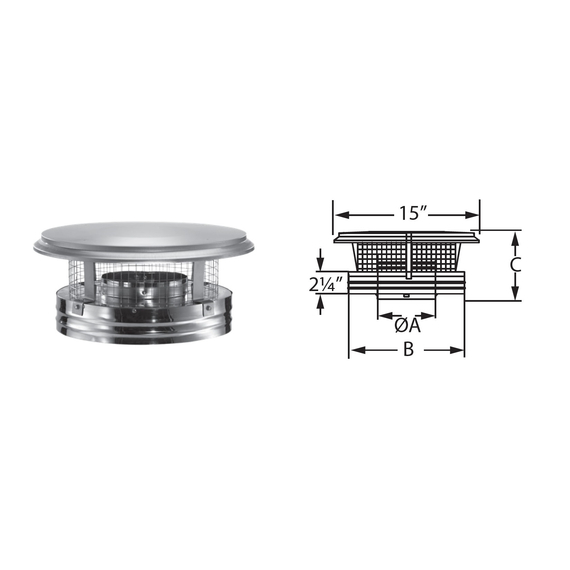
1. 6" DuraPlus Chimney Cap: The chimney cap acts as a barrier to keep debris, weather, and other outside elements out of the chimney while allowing for sufficient ventilation.
2. 6" DuraPlus Storm Collar: The storm collar strengthens the chimney's resistance to bad weather by creating a watertight seal around it and offering extra security.
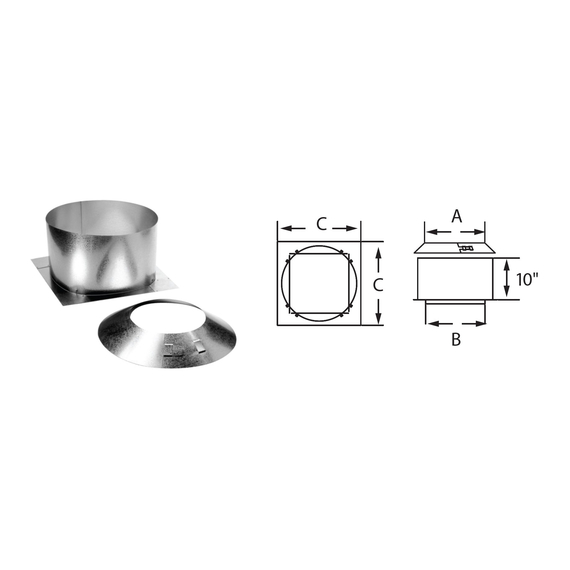
3. 6" DuraPlus Attic Insulation Shield: The attic insulation shield prevents heat transfer to explosive objects in the attic, guaranteeing safety and adherence to insulation regulations.
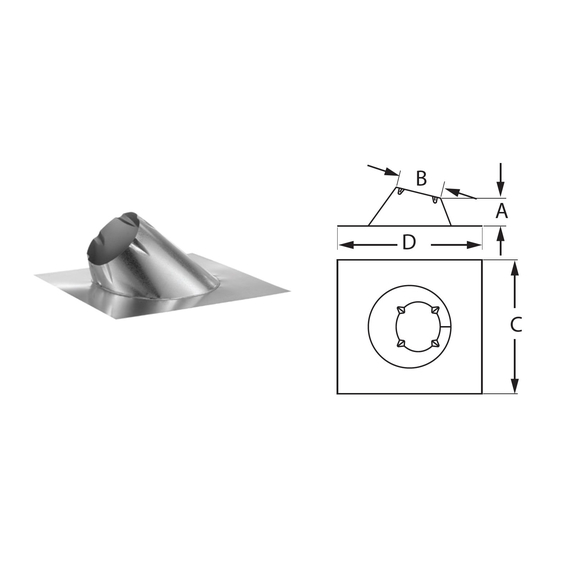
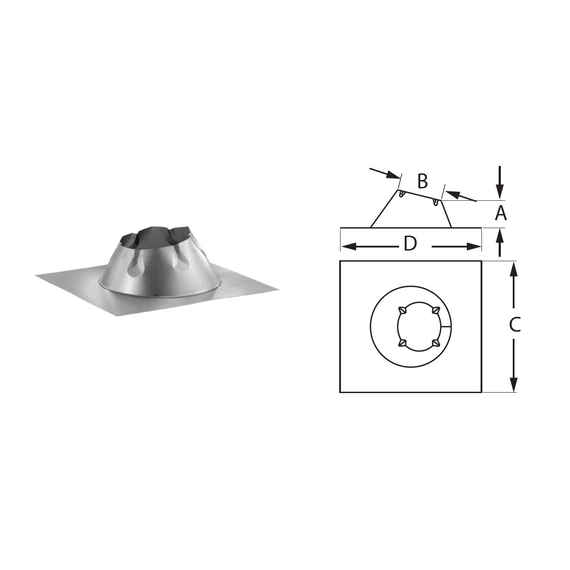
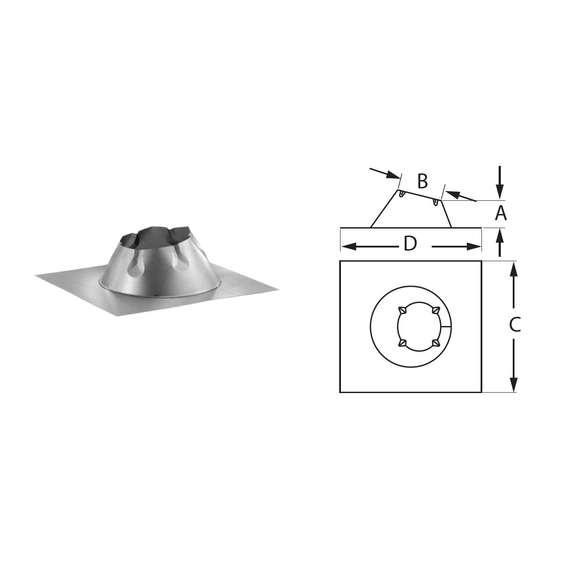
4. 6" DuraPlus Flashing: The flashing acts as a weatherproof barrier to stop water from penetrating the area around the chimney, enhancing overall waterproofing and maintaining the structural integrity of the chimney system.
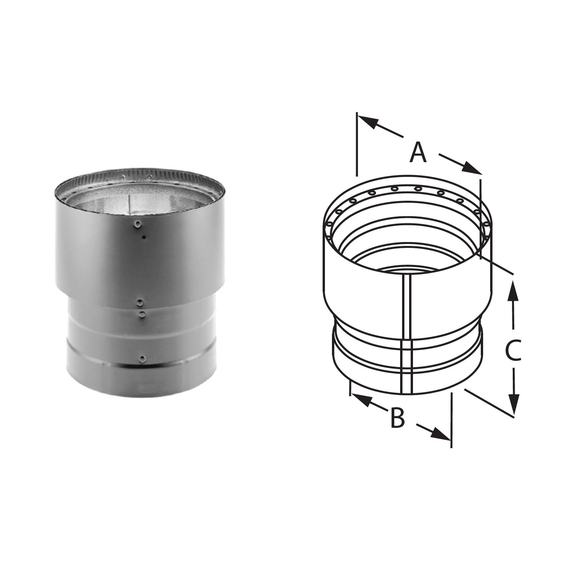
5. 6" DuraPlus Elbow: This elbow kit ensures a safe and well-supported installation by adding extra support and stability to the chimney system, especially at the elbow portion.
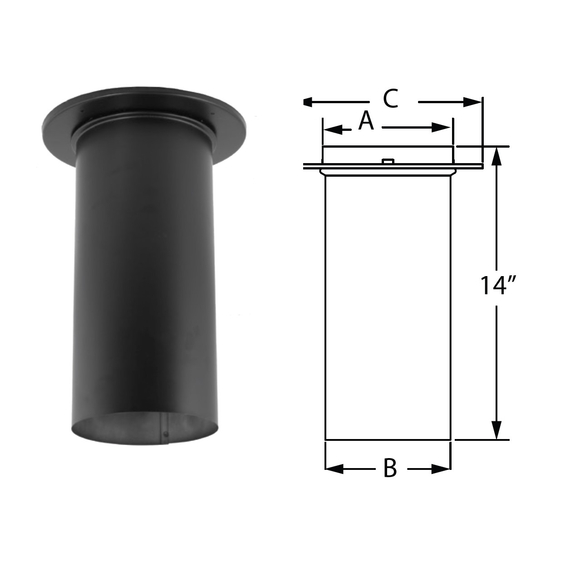
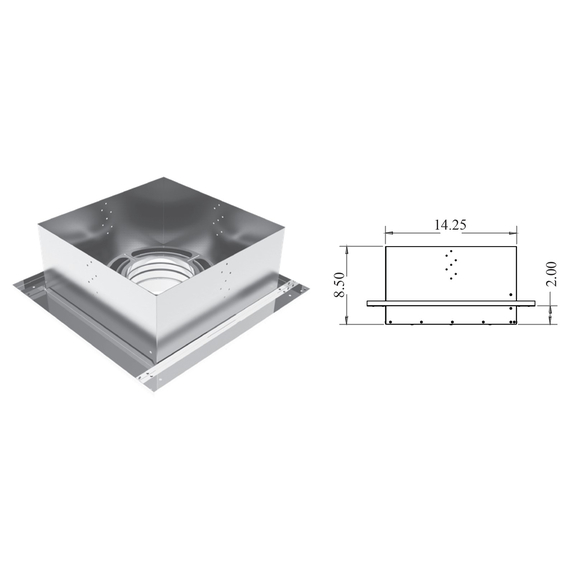
6. 6" DuraPlus Ceiling Support Box: Besides facilitating the chimney system's passage through ceilings and providing stability and structural support, the ceiling support box ensures a secure connection and adherence to safety guidelines.
The DuraVent 6" DuraPlus Attic Offset Kit is a specialized solution for installing a chimney safely. DuraVent's kit, which combines supporting, insulating, and protective components, demonstrates its dedication to offering a dependable and legal chimney system that works to install a chimney system in attic.
Features:
- Triple-wall chimney
- Clean, smooth exterior finish
- 2" clearance to combustibles
- Free-floating inner 430-alloy liner maintains structural integrity in chimney fires
- For uses with wood stoves, fireplaces, furnaces, boilers, stoves, ranges, water heaters, or other appliances fueled by wood, oil, coal, or gas
Specifications:
- Size: 6" Inner Diameter
- Material: Stainless Steel | Aluminum | Galvanized
- Fuel Type: Coal, Oil, Wood, Gas
- UL Listed: UL-103-HT
- Vent Construction: Triple Wall
- Type: Kit
Downloads:
- DuraPlus Catalog
- DuraPlus Install Instructions
- DuraPlus Woodburning Best Practices
- DuraVent DVL Catalog
- DuraVent DuraBlack Catalog
Installation Guide for DuraPlus Attic Offset Chimney Pipe Kit
The DuraPlus Attic Offset Chimney Pipe Kit is designed to simplify your installation process while ensuring that your chimney operates at its best. Follow these steps for a seamless setup that prioritizes safety and effectiveness. The DuraPlus Attic Offset Kit is available in 6-Inches, 7-Inches and 8-Inches.
- Position the Appliance: Place your appliance according to the manufacturer’s instructions, ensuring the flue outlet collar is between the rafters or joists above.
- Frame the Support Opening: Use a plumb bob to mark the center point of the appliance’s flue outlet on the ceiling.
Refer to Table 2 for framing and clearance dimensions, then cut a square or round hole based on the type of support box you will use. Frame a level opening above the hole. - Install the Support Box: Insert the support box into the framed opening, making sure it extends at least 2 inches below the finished ceiling.
Level it and secure it with two 8-penny nails per side. Attach trim frames for a neat finish. - Frame Openings for Shields: Frame additional openings in each ceiling or floor above the support box for the Firestop Radiation Shields and Attic Insulation Shields.
Drop a plumb bob for alignment, and follow Table 2 for measurements. If you need to change direction, use elbows to create an offset. - Cut the Roof Opening: Cut an opening in the roof above the framed area, ensuring at least a 2-inch clearance around the chimney.
If your rafters are 16 inches apart, you can use Close Clearance Shields to simplify the framing. - Install Firestop Radiation Shield: Install the Firestop Radiation Shield based on whether it’s a two-story or multi-story building.
Nail the base to the framing and ensure the pan is facing the right direction. - Assemble Chimney Sections: Lower the first chimney section into the support box and twist-lock it to the starter section. Make sure it’s secure. Use screws only if necessary.
- Install the Attic Insulation Shield: Install the Attic Insulation Shield where the chimney passes into the attic to keep debris away. If the shield won’t fit, use a square support box instead.
- Attach Flashing: For new builds, extend the chimney above the roof and slide the flashing over it. For existing roofs, center the flashing first. Maintain a 2-inch clearance and seal nail heads for weatherproofing.
- Finish the Top: Seal around the chimney where the storm collar meets the flashing and secure the collar. After adding enough chimney sections, attach the chimney cap.
- Enclose the Chimney: Enclose the chimney wherever it passes through living spaces, keeping a 2-inch clearance from any combustible materials.
Following these steps will help you safely and efficiently install your attic offset chimney pipe kit. Trust DuraVent for quality and safety in your chimney system!
Easy Steps for Installing DuraPlus Elbows
-
Attach the Elbows
- Twist to Lock: Connect the Elbows to the Chimney Sections by twisting them clockwise until they lock in place. Start with one Elbow on the Chimney Section below, making sure it’s aligned correctly.
- Adjust Direction: If the Elbow needs to face a different way, rotate it to the desired direction. Use at least four sheet metal screws to secure it, but don’t drill through the inner wall.
- Check Offset Length: Look at Table 3 to find the right offset lengths. Attach the correct length of Chimney Sections above the Elbow, and don’t go over the maximum lengths in Table 3. Finally, add the second Elbow above the Chimney Section.
-
Secure the Offset
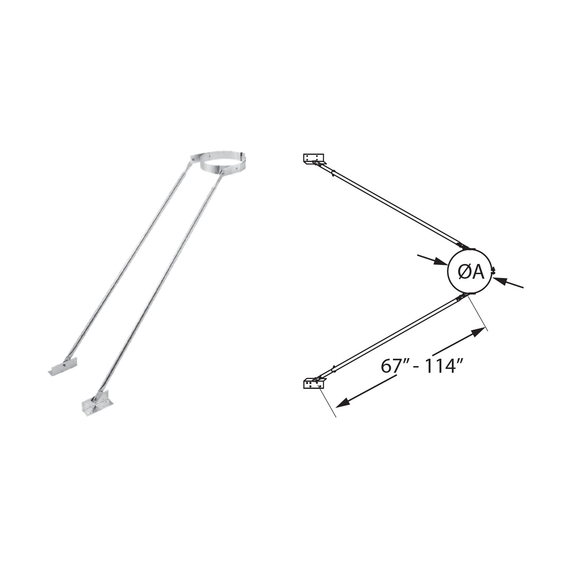
- Use an Elbow Strap: Place the Elbow Strap around the top Elbow and tighten it until it feels secure.
- Nail It Down: Wrap the end of the strap over a nearby joist or rafter and secure it with at least two 8-penny nails.
- Support Before Adding More: Don’t add more Chimney Sections until the Elbows are supported. Make sure the chimney stays vertical. If the length between the two Elbows is over three feet, install a second Elbow Strap around the center of the Chimney Section(s) for extra support

Manufacturer's Warranty
Manufacturer warrants the glass enclosures to be free from defects in material and workmanship for a period of one (1) year from the date of installation. Manufacturer warrants the metal work (exclusive of the finish) contained in the glass enclosures to be free from defects in the materials and workmanship for a period of two (2) years from the date of installation. Discoloration of any frame piece is caused by over firing and is considered abuse of the enclosure.
MANUFACTURER MAKES NO WARRANTIES AS TO A MAXIMUM TEMPERATURE AND STRESS WHICH MAY CAUSE GLASS BREAKAGE. LIFETIME WARRANTY ON GLASS.
Manufacturer will, however, replace without cost any glass that breaks in normal use. Manufacturer will cover shipping cost for replacement glass for a period of one (1) year from the date of installation. Warranties also are not transferable to new owners. The foregoing limited warranty is not transferable by the customer and does not include the eventual defects caused by improper use or operation of the glass enclosure or by normal wear and tear. Manufacturer agrees that if the glass enclosure is determined to be defective in manufacture within the applicable written guarantee period set forth above, and the customer provides a written notice of such defects within fourteen (14) days of the end of such period to the customer’s local dealer, Manufacturer is limited to defects in manufacture, and Manufacturer shall not be responsible if the glass enclosure has not been used at all times with reasonable care and in accordance with the instructions which accompany each glass enclosure, and/or if any attempt has been made by any person other than Manufacturer or its authorized agents to repair, alter or otherwise interfere with the foregoing undertaking of Manufacturer is limited to the replacement of any determined by Manufacturer to be defective.
Finally, the enforceability of this limited Warranty shall be further subject to compliance with the following requirements:
A. That the customer complies with the instruction set forth above and does not misuse, abuse, alter, or modify the glass enclosure.
B. That the customer does not use the glass enclosure for a purpose other than its intended use.
DISCLAIMER
The limited warranty set forth above, is expressly in lieu of any other warranties, express or implied, including without limitation any warranty of merchantability or fitness for particular purpose, whether express or implied, and lieu of any other obligation or liability on the part of Manufacturer. Whether under theories of contract, tort or negligence, Manufacturer, shall have no liability for any consequential, incidental or special damages by reason of any act or omission, whether negligent or not, arising out of or in connection with the glass enclosure or its sale, delivery, installation, maintenance, operation, performance, or use, including without limitation any loss of use, damage to associated property or the facility, or any other similar and dissimilar losses, cost.
PLEASE NOTE:
Fireplace doors are hand crafted to the specifications of each order. Due to the nature of the anodization process on aluminum doors, and the plating/powder coating process on steel doors, slight variations in color may occur and will not be considered a warranty issue.
No reviews found


